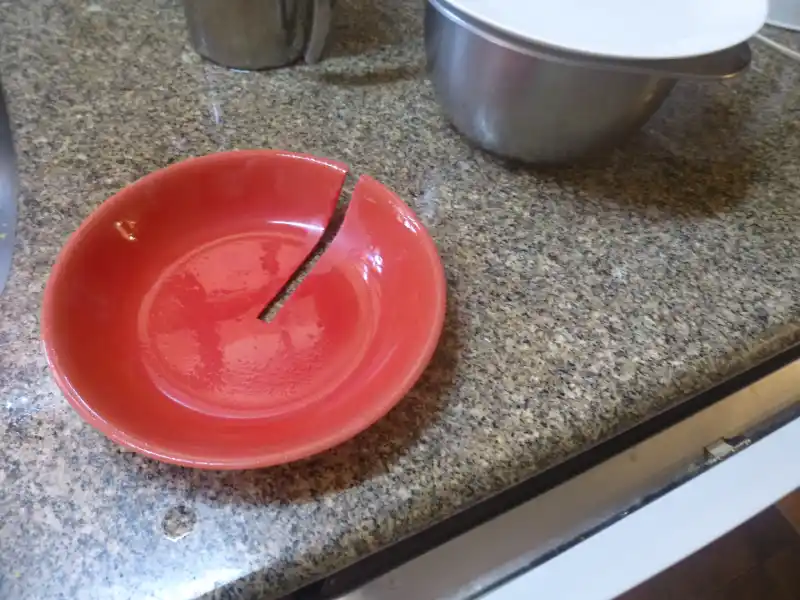
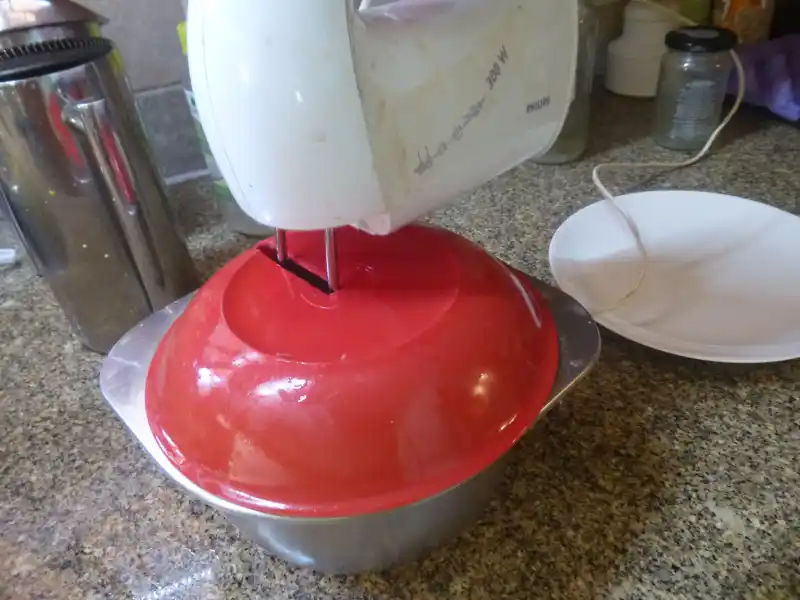
Wife asked me to mash some garbanzo beans to make hummus. A potato masher is tedious and relatively ineffective. The electric hand mixer does a good job, but with the slight inconvenience of making an unholy mess if you’re not real careful. And slow.
All of a sudden I got an idea. An old plastic saucer, couple of minutes with the table saw, and…
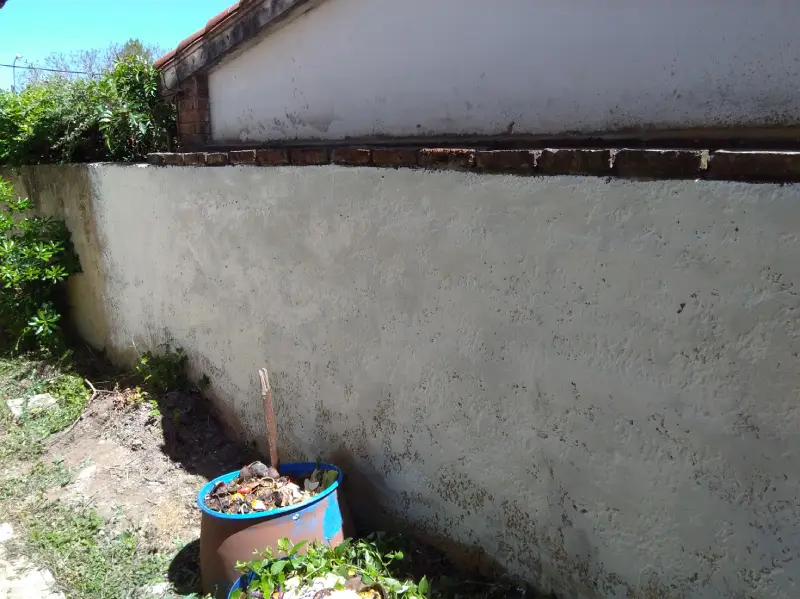
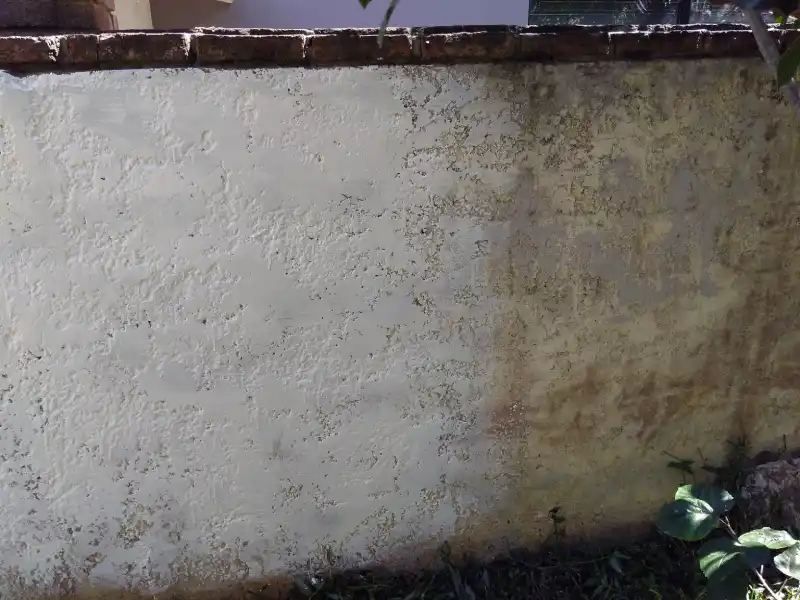
The other day I opened a half-empty 5-liter paint can to touch up an exterior wall, and it looked and smelled a little like a science experiment. Yuck. So today I stirred it all up with a little fungicida and put it to use.
This looks like a sloppy paint job, but look to the left. It’s worse—the paint stops!
Likewise on the right side: fades out in a slightly painterly fashion. The wall is highly textured, so it takes a lot of paint, and that’s as far as a little over a half gallon of paint goes. For what reason?
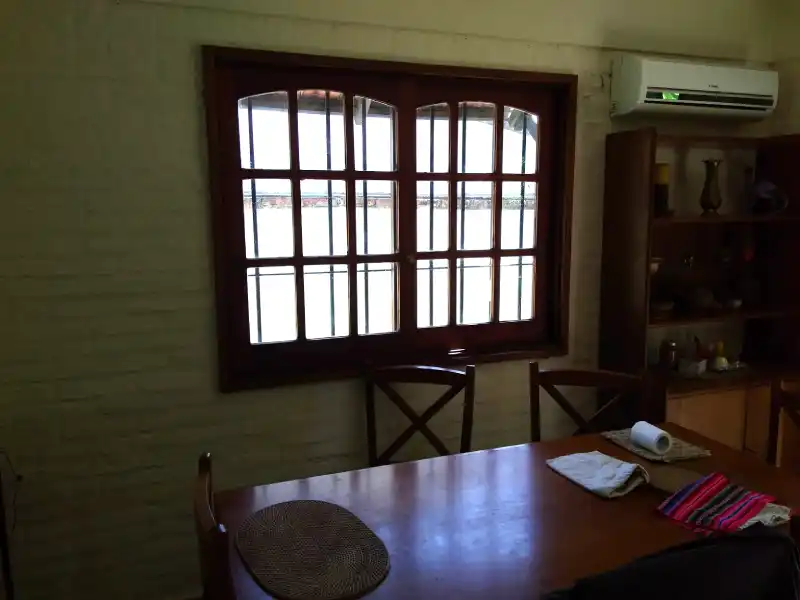
Because that’s the part you see out the dining room window. But of course….
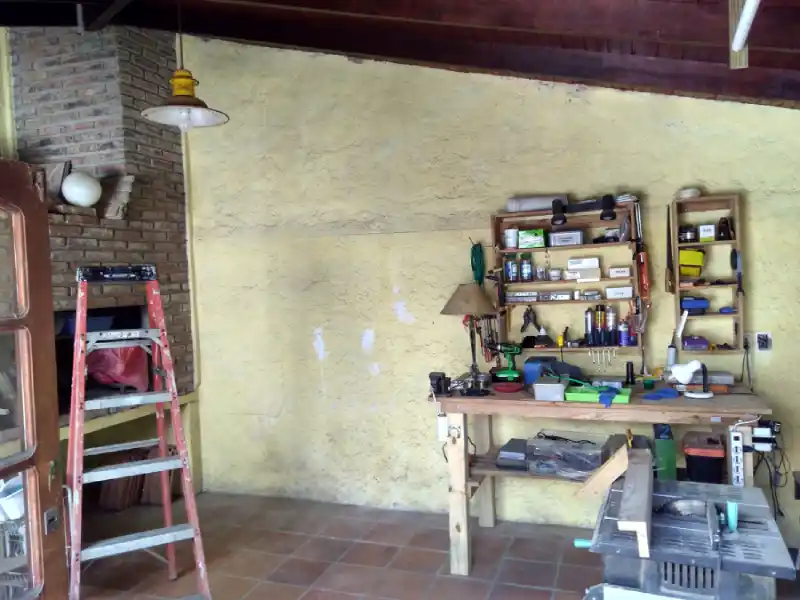
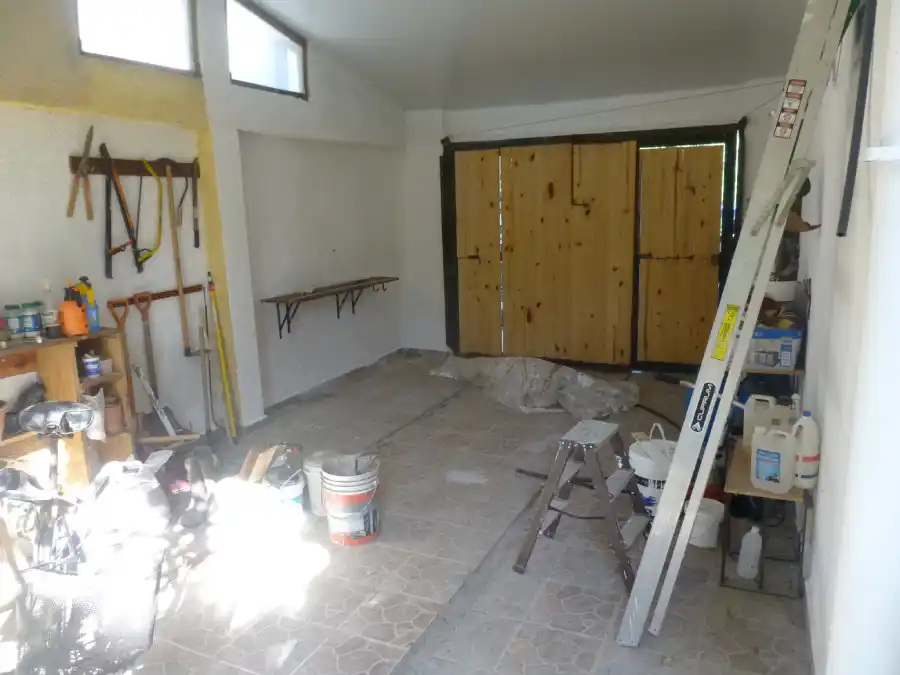
Another chore put off for the better part of 15 years: for the first time, those doors close properly. What makes it sweeter is that the jack plane wasn’t functional before I started, and I was able to engineer a solution to that. Wonderful tool when it works!
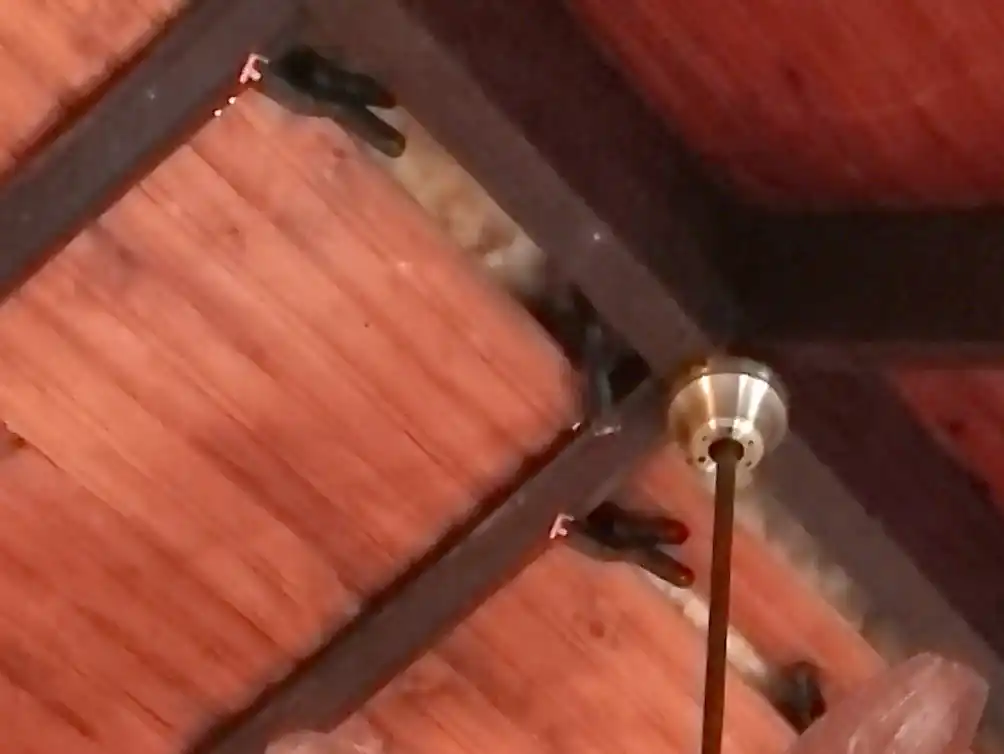
Not long after we moved in, I had the bright idea to insulate the roof above our bedroom. I started with the north (sunny, because we live in the southern hemisphere) side, ripping little 1×1″ strips to support thin tongue-and-groove lambriz pieces, above which I installed fiberglass insulation.
I seems fairly straightforward until you recall this was an owner-built house, meaning that the ceiling beams are not only not evenly spaced, they’re not even necessarily parallel. So I could only cut strips for a foot or two at a time before I’d have to measure again, scramble down the ladder and downstairs to cut more pieces, slightly longer or shorter.
Which is part of the reason I didn’t proceed with the south side as well (which btw still gets plenty of sun in the summer).
The problem lay in finishing each row at the top. They ended with a gap, and insulation showing. After staring at that for far too long, I finally decided I needed a solution. It’s a bit complicated to explain, but required more lambriz, clamping and gluing, a template, drilling and installing screws, among other things.
All while balancing on the penultimate step of an eight-foot folding ladder.
One of those small projects that makes all the difference, if only to me. Oh, and one fun detail. I bought one piece of lambriz – 3.3 meters – and this is what was left over when the project was done 😉
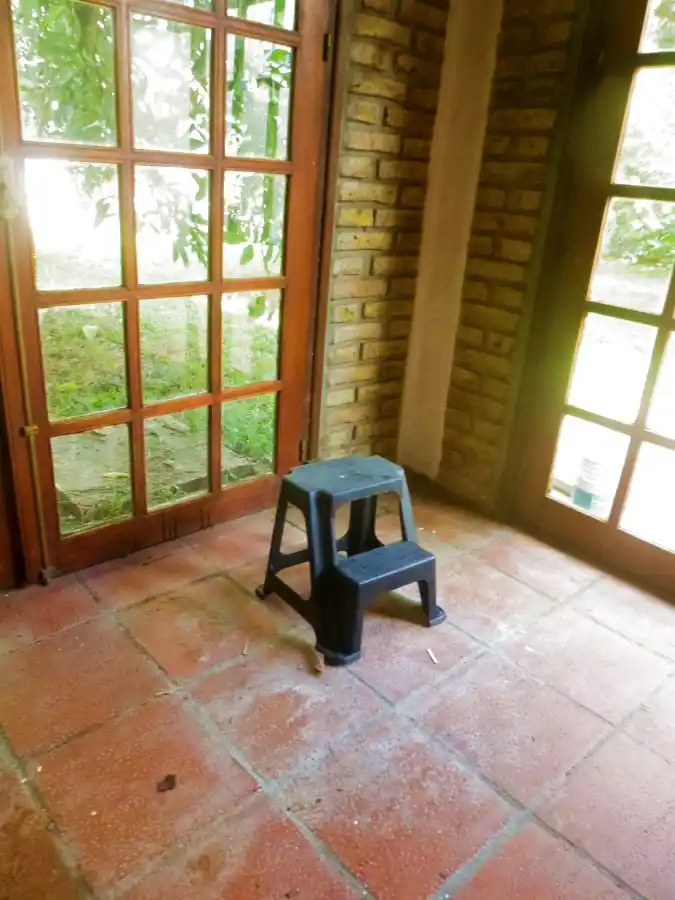
It wasn’t an impulse purchase; it was an imperative purchase. When these abruptly appeared on display at the local hardware store, I knew I had to have one. An extra foot of reach, a convenient way to work in low spots without squatting or kneeling on the ground.
It’s only been a few days, and i wonder how I ever functioned without it.
You could look at these photos and imagine that I was motivated to start painting the barbacoa (which would be a parrillera if still open-sided, but we closed it in) simply because it needed to be spruced up a bit. Just a bit.
In fact, a major motivation was the need to use paint. I bought 20 liters to do the interior of our little house in the country (for sale!), and discovered I could get by with touching-up, leaving me a lot of interior paint in search of a purpose.
We’re in an odd stretch of almost-summery weather, when pressure-washed walls—yes, they need it—dry relatively quickly. So, next: the complete dismantling of everything on the right side (ugh).
And I hate storing almost-empty almost-dried-up paint buckets from jobs done years before.
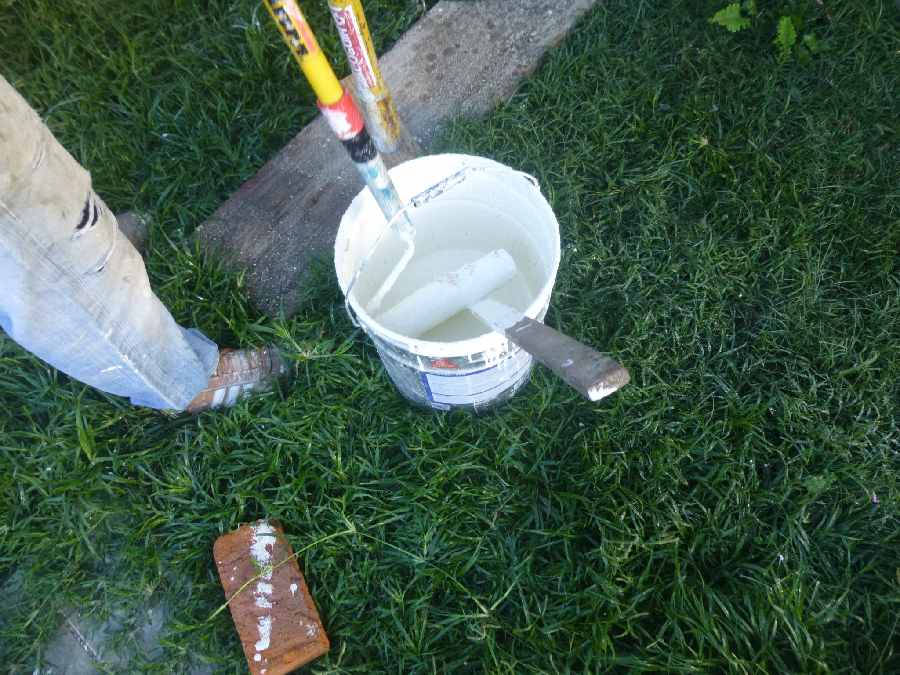
After struggling with a paint tray—where do you put it so you won’t step in it or knock it over? How do you get paint on the whole roller, instead of just one side?—I consulted the guys painting the front of our house.
Simple, if not exactly easy (bit of a learning curve): use 20-liter can and a piece of wood.
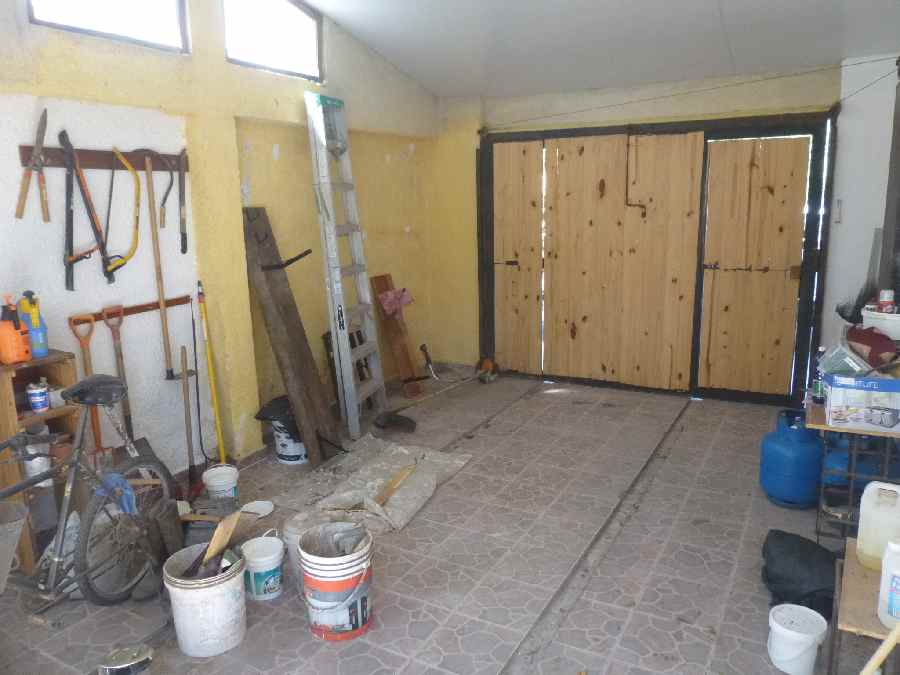
Armed with that knowledge, I tackled the next part of our cochera (carport).
Definitely more efficient. As for my work, the usual: not perfect, but not bad.